
This A.C. Electric only water heater is also being replaced by a gas / electric / motor-aid water heater that will be installed where the refrigerator was.
One reason for this location for the heater is that the side of the coach has rub-rails (bumps) and there is a gap between them which will nicely fit the combustion air intake / exhaust plate for the furnace.
One benefit of this installation is that the space above the heater becomes available for a closet or pantry, depending on where I put the door. The combination of water heater and the old radiant heater took a lot of space.
After removing the water heater I installed a rail for the heater shelf to sit on and cut a new shelf out of plywood:


The front face of the heater exhausts the warm air and needs to be flush with the front of the cabinet. The intake / exhaust tubes for the heater are too short to reach the outer wall of the coach, so I am going to need to extend them. (longer pipes can be purchased, but I could not find a reliable source for the parts - and I own a MIG welder!

Intake / Exhaust too short to reach wall

Original exhaust pipe cut to weld in as extension

Extensions in place
 |
| It reaches! |
 |
| The holes are the size specified in the heater manual. |
 |
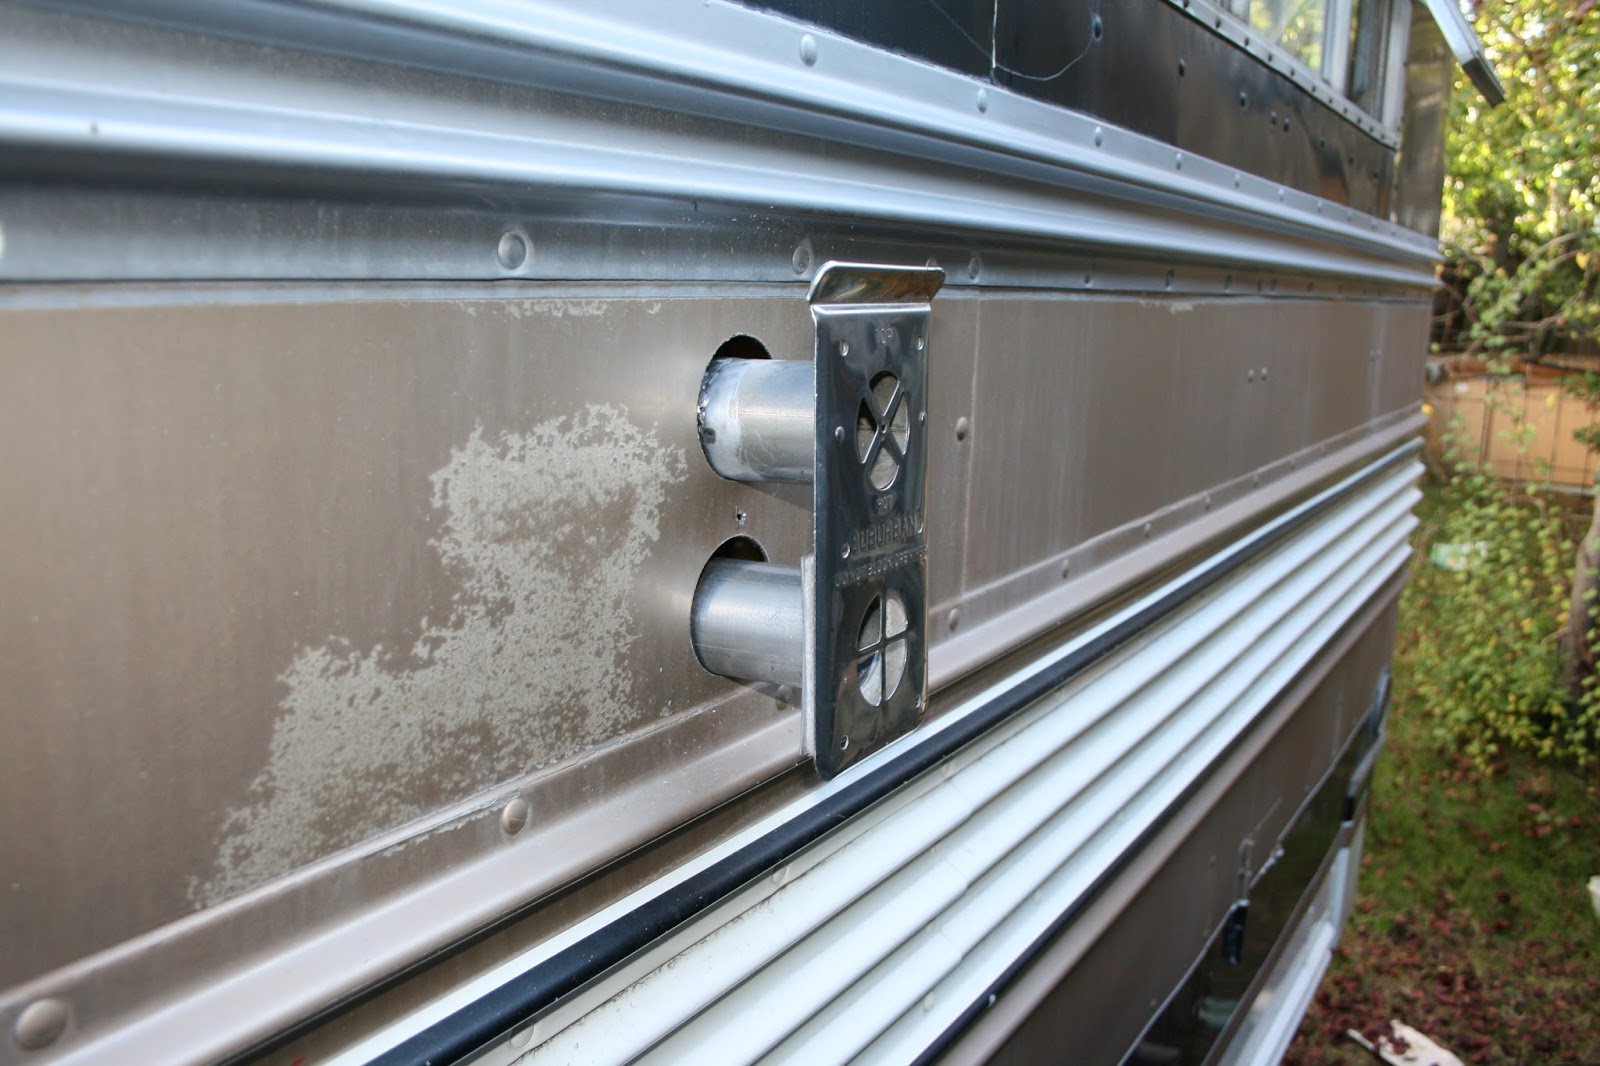
| Plate screwed down and sealed |
Overall not terrible. The plate is sealed with Automotive RTV which will tolerate the temperatures of the exhaust plate. The welding is okay, and I will wrap some aluminum tape around the joints to ensure that they are gas-tight (they look gas-tight, but I have no good way to really test them - belt and suspenders time! )
I am going to use threaded metal inserts on the wood platform for the heater and screw the heater down with 1/4 x 20 machine screws. That will be better than the sheet metal screws provided with the heater - I will be able to remove the heater for repairs without damaging the screwholes in the wood.
In addition to working on the heater, I put a coat of spar polyurethane varnish on the subfloor in the back. I will add another coat or two. This is simply to help the wood resist the effects of any moisture that may happen. I am thinking about installing some sort of moisture / water sensors into the walls and under the carpet to alert me in the event of water leaks either from outside, or from the water system which is located in the bedroom. Water leaks are the greatest threat to retro's health in the long term.
 |
| New bedroom subfloor - needs more spar varnish. |
 |
| So many things to play with! |
 |
| This window frame leaked - new butyl tape on order. |
 | |||||
| Not very sanitary wiring. The wires on the two round meters on | the left have 120VAC on them! |
Near term projects:
Scope out the wiring and figure out how to split the chassis and house electrical systems in a way that makes the most sense
Remove generator for restoration - it runs, but the governor does not work and it needs general cleanup and some rubber parts and hoses replaced.
Remove radiator for rodding out and evaluation
Till Next Time